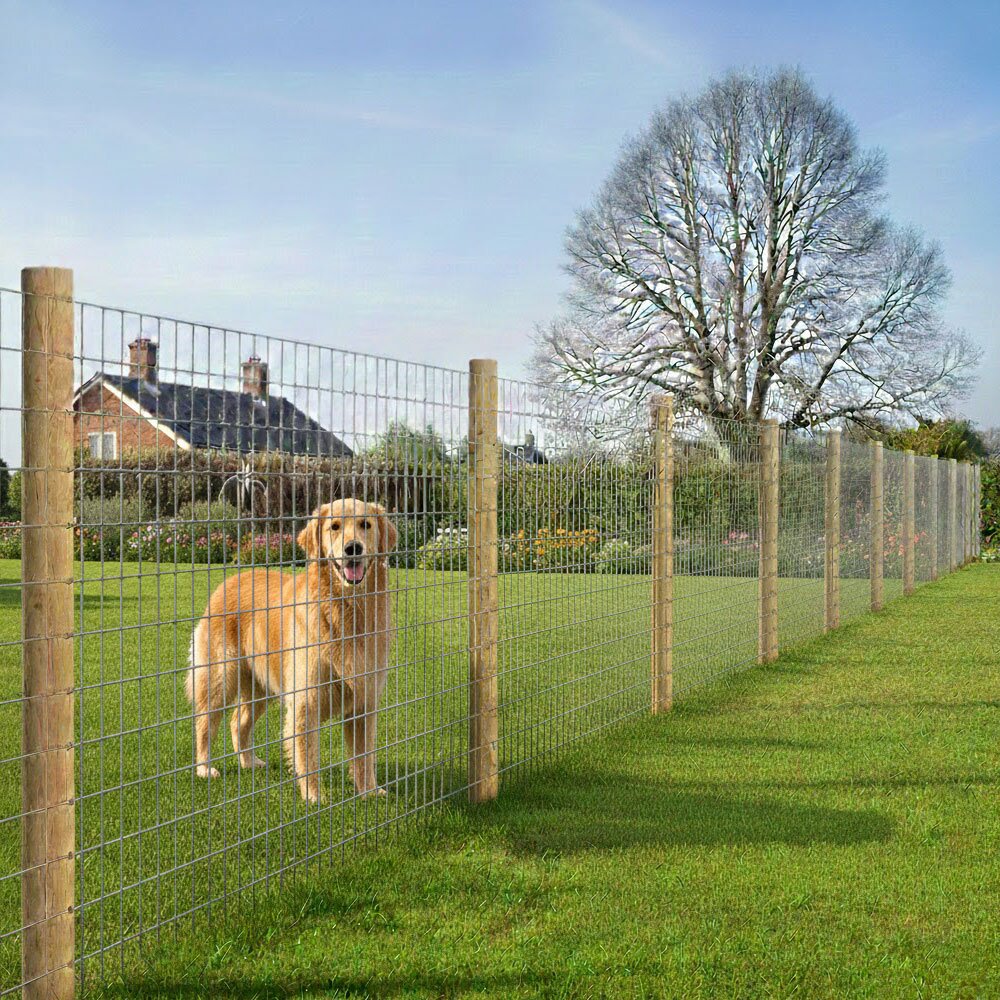
Wire mesh fencing is a cost-effective and long-lasting choice for boundaries due to its durability, ease of installation, and resilience to varying weather conditions.
Unlike solid panel fences, wire mesh allows wind to pass through freely, reducing the risk of the fence blowing over or sustaining damage during storms. Its open structure also provides clear visibility, which is ideal for maintaining sight lines while still defining boundaries or containing animals. The galvanized finish also provides excellent protection against rust and corrosion, requires minimal maintenance, and can be easily installed, making it a cost-effective and long-lasting fencing solution.
Our detailed installation guide will have you up and running with your wire mesh fence in no time.

Choose the right wire mesh
Here at Mesh Direct we offer a wide range of weld mesh in a variety of hole sizes and roll heights. Whether you’re looking for Dog Fencing, Cat Fencing, Security Fencing, or Green Garden Fencing, we have plenty of available options. If you’re unsure as to which is the ideal wire mesh for your project, why not try our Mesh Finder Tool or contact us and our experienced team will be happy to help.
Once you’ve selected the appropriate wire mesh fencing for the job, it’s time to plan out your fence.
Tools & Materials Needed:
- Roll of wire mesh fencing (galvanized for outdoor use)
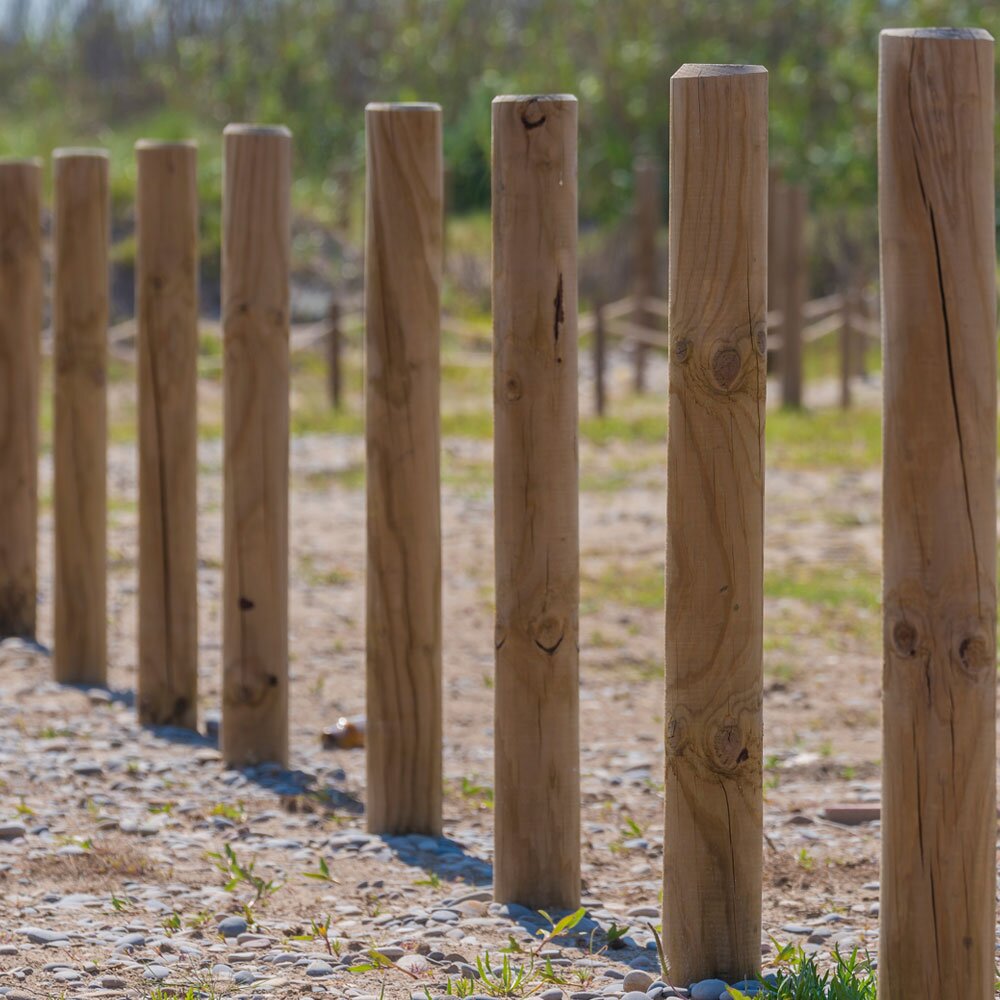
- Fence posts (wooden, steel or concrete)
- Hammer-in staples and hammer, or a staple tacker
- Wire cutters
- Spade or post hole digger
- Postcrete (or fast-setting concrete)
- Spirit Level
- Tape measure
- String line (for alignment)
- Protective gloves
Step 1: Plan Your Fence Layout
- Measure the total length of the fence line. It is a good idea to do this before you purchase your mesh, to ensure that you buy the correct overall length of fencing.
- Mark the start and end of each straight section of fencing.
- Space the posts at approximately 1.8m intervals (the closer the post spacing, the more support the fence will have).
- Use a string line between your start and end post on each straight section of fencing to ensure that your fence runs straight.
Step 2: Dig Post Holes
- Dig each hole approximately 55cm deep, ensuring that you leave sufficient post above the ground when the post is buried in the hole.
- Hole diameter should be about 3 times the post width, typically around 20cm to 30cm (8 to 12 inches).

Step 3: Set the Posts
- Place a post in each hole.
- Use a spirit level to make sure it’s upright.
- Pour Postcrete around the base of the post, following the product instructions.
- Usually, pour dry mix into the hole, then add water.
- Allow to set for the required time, typically 10–20 minutes for quick dry post-crete, before letting go of the post.
- Let the posts fully set for at least 24 hours before attaching mesh.
Step 4: Attach the Wire Mesh Fencing
- Secure the start of the mesh to the post at the beginning of your first run using either hammer-in staples or a heavy-duty staple tacker. Fix staples approximately 15cm to 20cm (6 to 8 inches) along the post.
- Unroll the wire mesh along the fence line. You may need a helper to hold it in place. If the mesh is curved slightly, this is normal from being machine rolled at the factory. To remove the curve, you may need to back-roll the mesh slightly i.e. roll the mesh back on itself to remove the curve.
- Pull the mesh taut and fix it to each intermediate post using staples to ensure it is secure before moving onto the next post.
- When you get to the end of your run of fencing, use a decent pair of wire cutters to cut the mesh. Wear protective gloves to protect yourself from any sharp prongs when you cut the mesh.
- If your run is longer than the length of mesh on the roll, then secure the mesh to the nearest post at the end of the roll. Then overlap the beginning of the next roll of mesh slightly, and fix to the same post with staples.
- Continue along the fence line, ensuring the mesh remains tight and parallel to the ground.
Tips for a Strong Fence:
- Keep the mesh tight: sagging or bowing mesh can lead to a compromised fence. Ensure that you pull the mesh tight, and fix to each intermediate post. Make sure your posts are not spaced too far apart.
- If you are trying to keep pets / animals in, then fix the mesh on the inside of the perimeter. The posts will provide additional support for the mesh if your animals jump up against the fence. Equally, if your fence is to be used for security, then it is best to fix the mesh on the outside of the posts.
- If using multiple rolls, overlap by approximately 15cm (6 inches) and staple both layers.
Final Check
- Walk the fence line and ensure all posts are sturdy.
- Check for loose staples or areas where mesh bows out or sags.
- Trim off any sharp or excess wire ends with wire cutters.
By following these steps, you'll have a durable, long-lasting wire mesh fence suitable for gardens, animal enclosures, or boundary marking.

Here at Mesh Direct, we can provide you with all the materials you need to put together your wire mesh fence, whether it’s mesh for small animals, security fencing, cat fencing or dog fencing. To discuss your needs, why not get in touch?
Regular maintenance and vigilance are key to keeping a strong fence, so be sure to browse our fencing parts and fittings too. With the tips and techniques outlined in this guide, you'll be well on your way to successfully installing a hassle-free wire mesh fence.
Why trust Mesh Direct?
Mesh Direct is a family-run UK specialist established in 1952, with decades of hands-on experience supplying wire mesh, wire netting, and fencing solutions. Our guidance is shaped by real-world use across domestic, trade, and industrial projects, helping customers choose materials that are fit for purpose and correctly specified.
As members of the British Stainless Steel Association and recipients of the Feefo Platinum Trusted Service Award, we provide transparent, expert guidance you can rely on. If you are unsure which mesh is right for your project, our team can offer practical, application-led advice. Contact us for guidance.
✅ Secure online checkout
✅ Fast UK delivery from stock
✅ Clear returns policy
✅ Trade & DIY support
✅ Trusted customer reviews


